Quick Start
Get BugPin up and running in under 2 minutes. This guide walks through the basic setup to start capturing and managing bug reports with the self-hosted visual feedback tool.
Prerequisites
- CPU: 1 core minimum
- RAM: 512MB minimum, 1GB recommended for production
Choose one of the following installation methods:
- Docker (recommended): Docker Engine 20.10+ and Docker Compose v2+
- Bun: Bun runtime v1.1 or later and Git
Step 1: Install BugPin Server
Using Docker (Recommended)
Option 1: Docker Compose (Easiest)
Create a docker-compose.yml file:
services:
  bugpin:
    image: registry.arantic.cloud/bugpin/bugpin:latest
    container_name: bugpin
    restart: unless-stopped
    ports:
      - "7300:7300"
    volumes:
      - ./data:/data
Then run:
docker compose up -d
If you're using a bind mount (./data:/data), set ownership before starting:
mkdir -p data
sudo chown -R 1000:1000 data
docker compose up -d
Without this, the container may crash with a permission error. See FAQ if you hit this issue.
Option 2: Docker Run
docker run -d \
  --name bugpin \
  --restart unless-stopped \
  -p 7300:7300 \
  -v bugpin-data:/data \
  registry.arantic.cloud/bugpin/bugpin:latest
BugPin will be available at http://localhost:7300
For detailed installation instructions, see:
Step 2: First Login
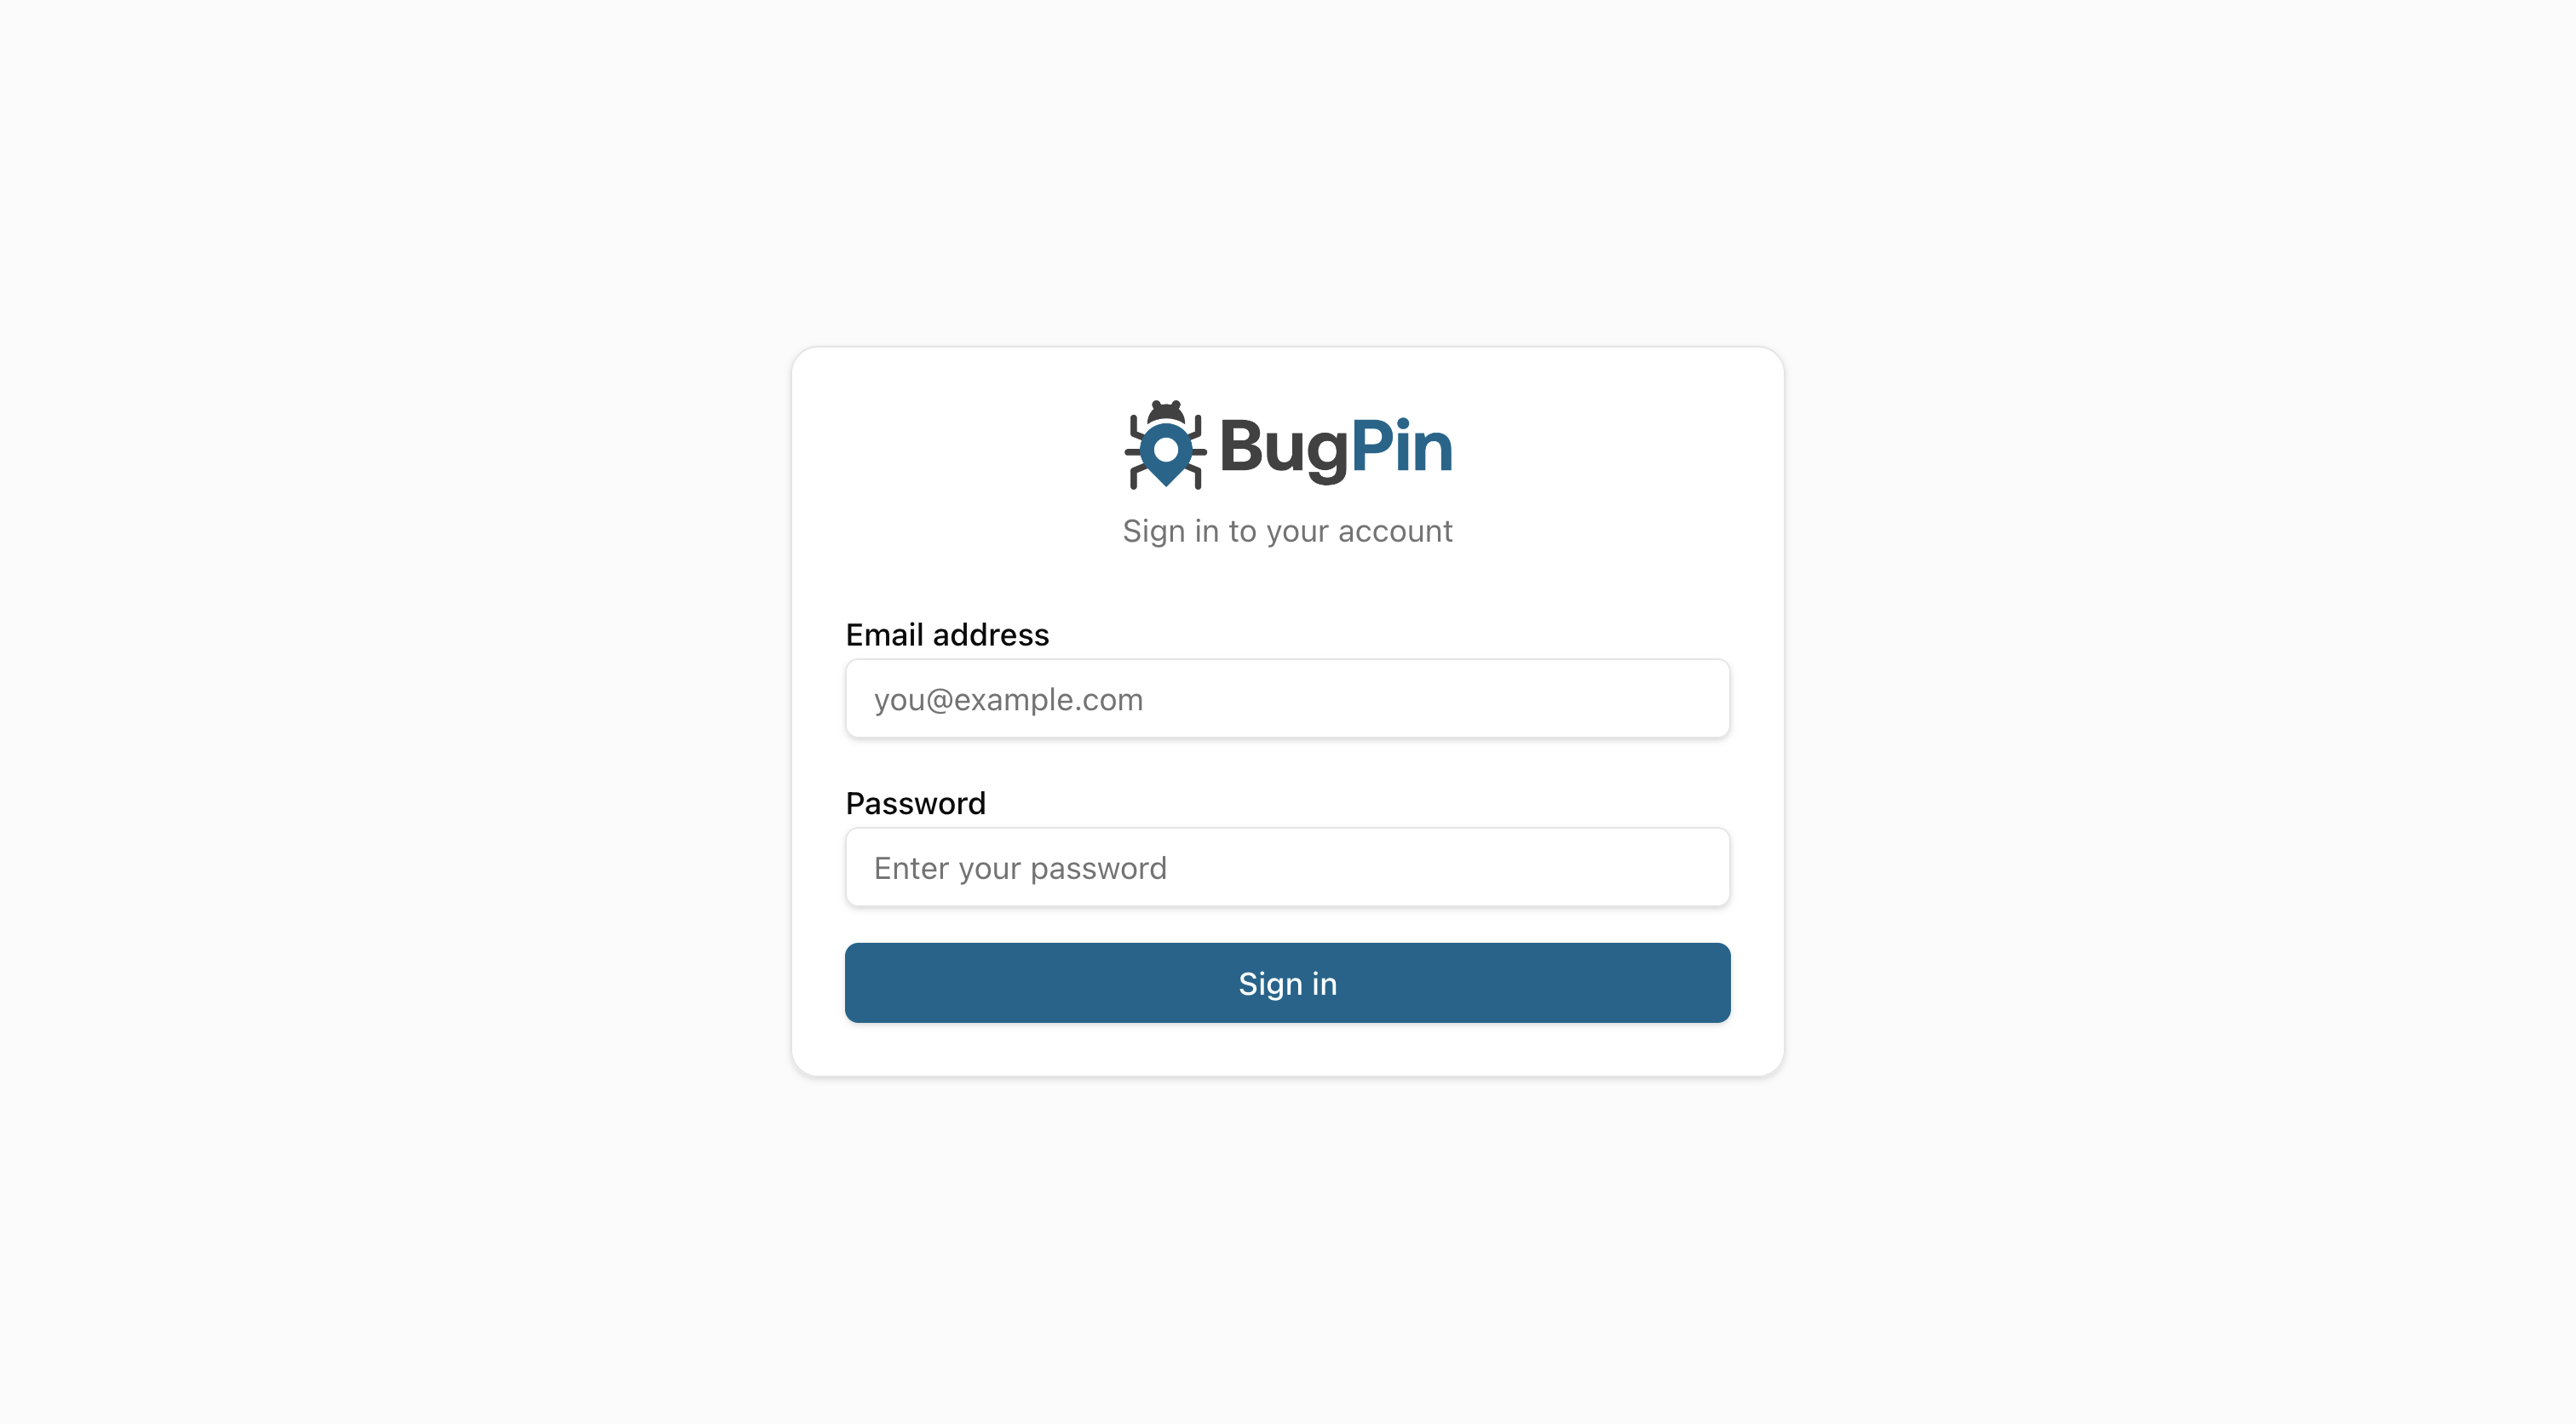
Log in with the default credentials:
- Email:
admin@example.com - Password:
changeme123
After logging in, you'll see the admin dashboard:
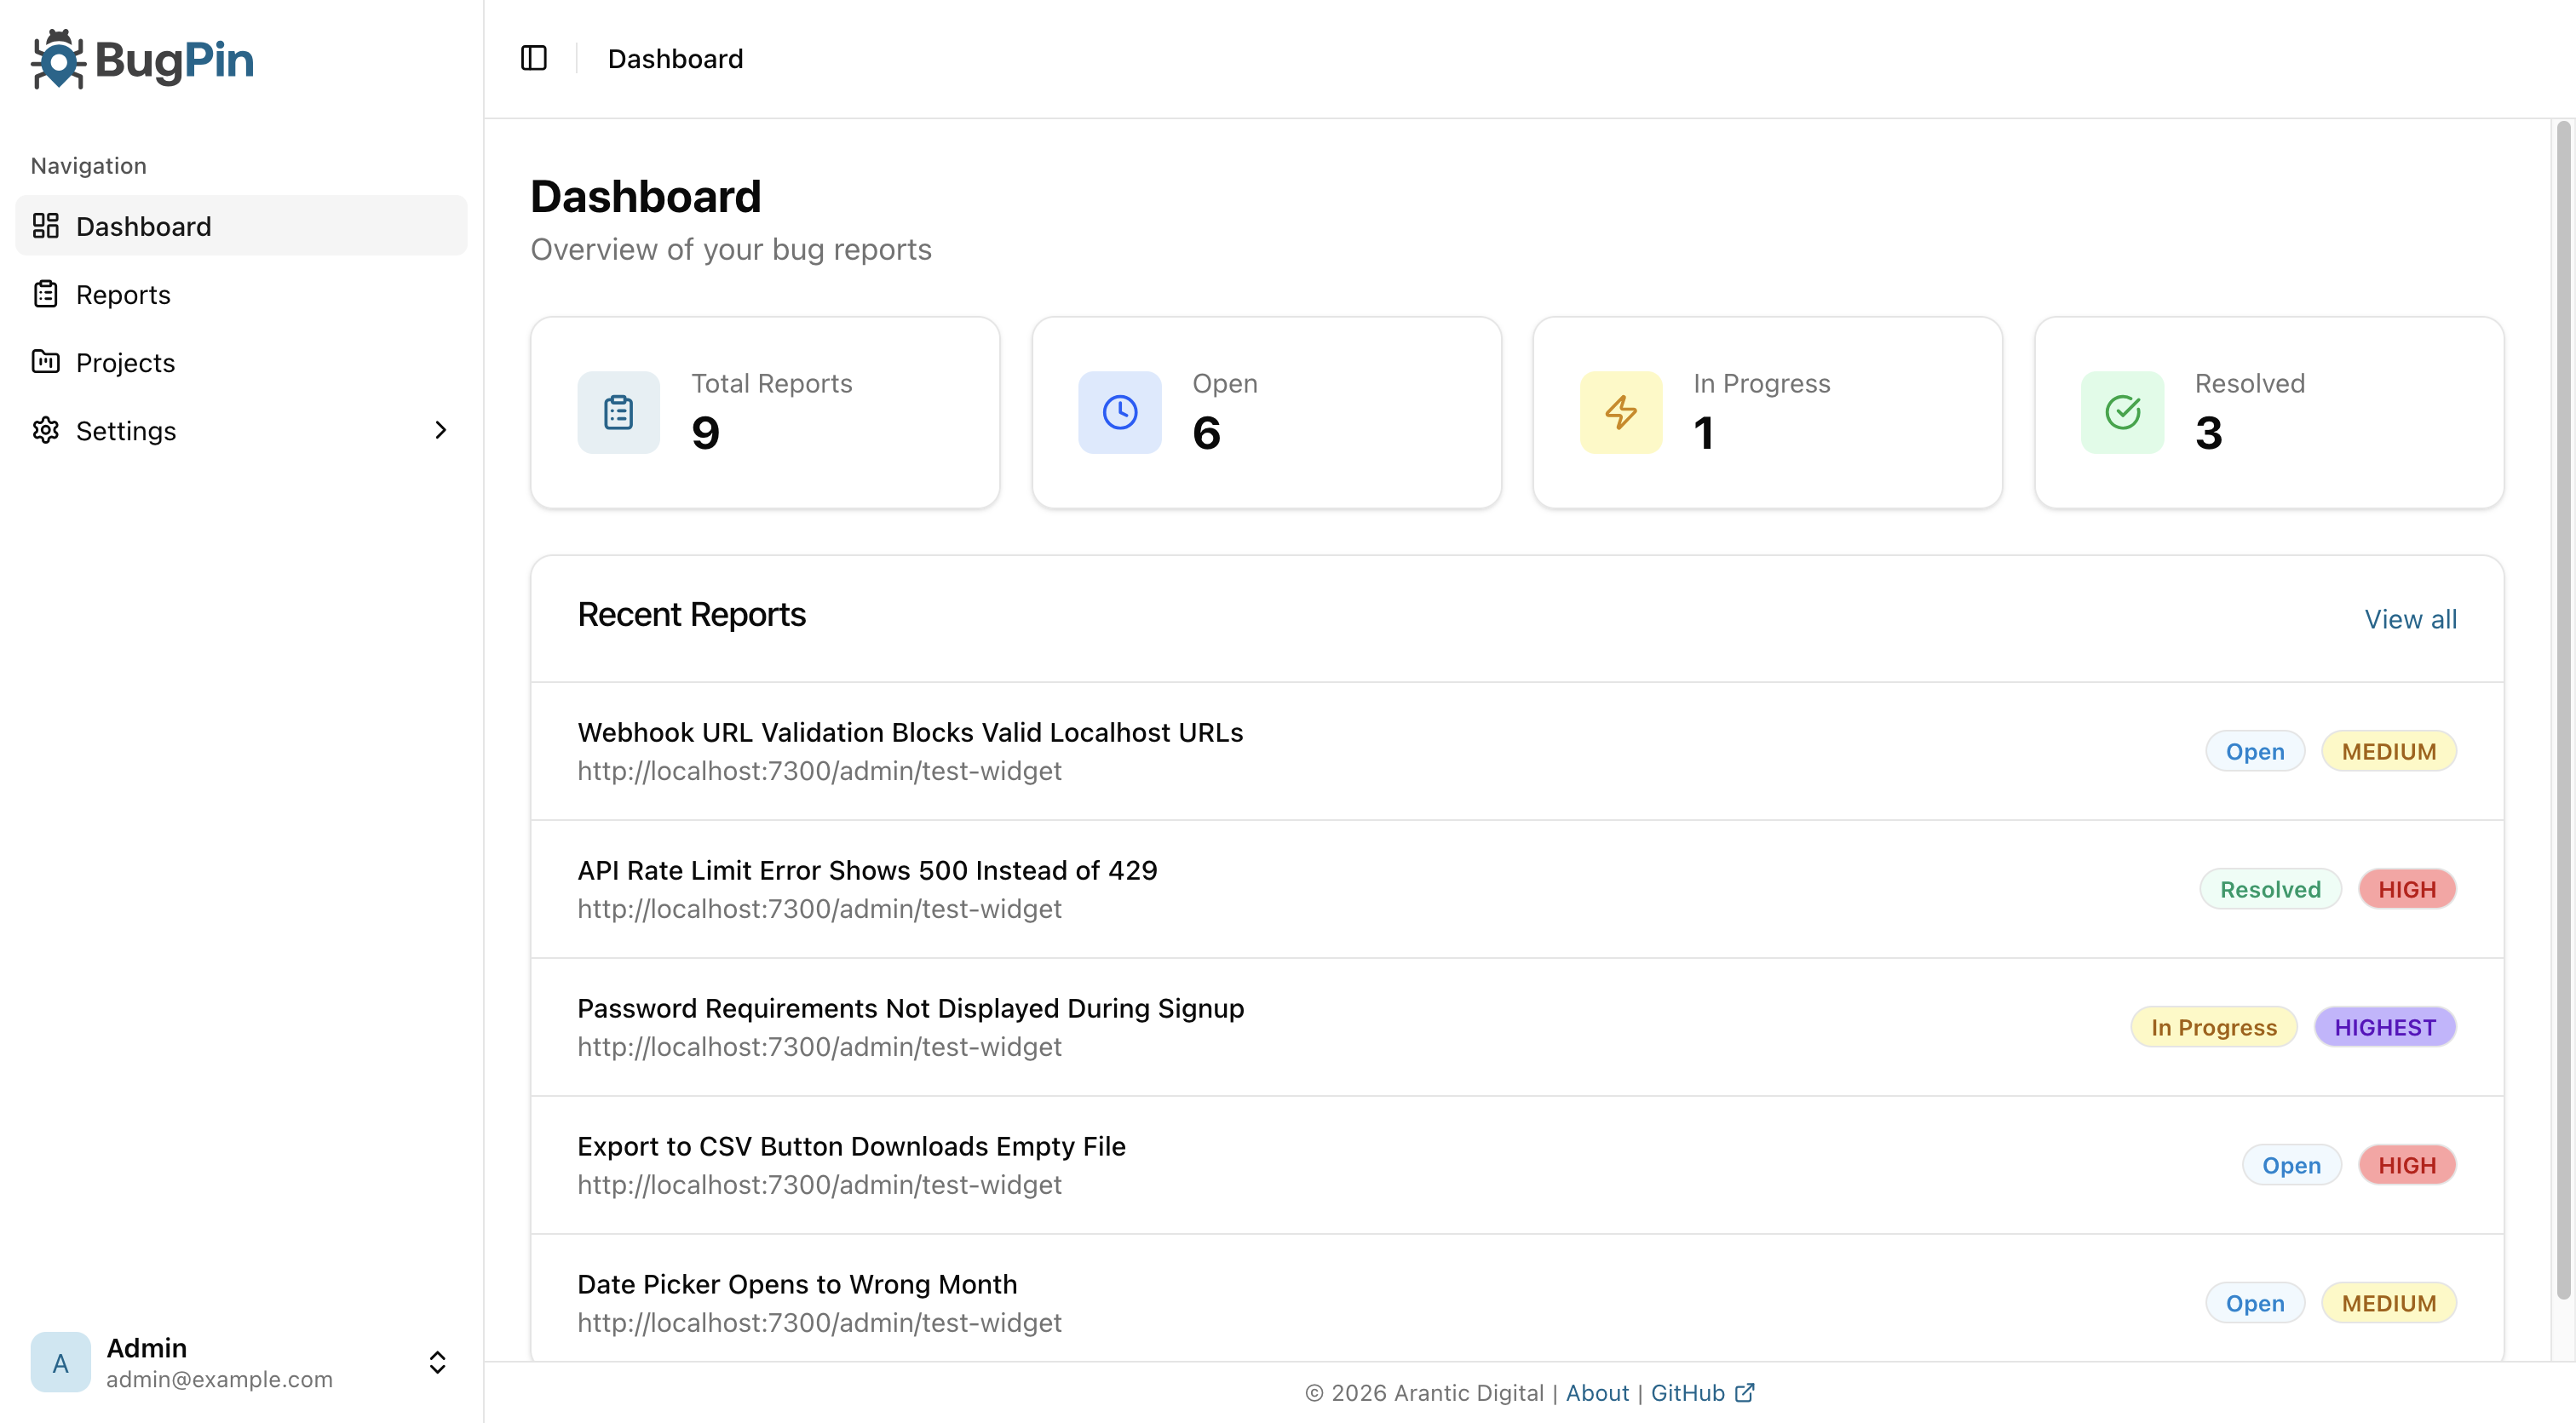
Change the default password immediately after first login:
- Click your profile in the bottom-left of the sidebar
- Select "Profile"
- Update your password
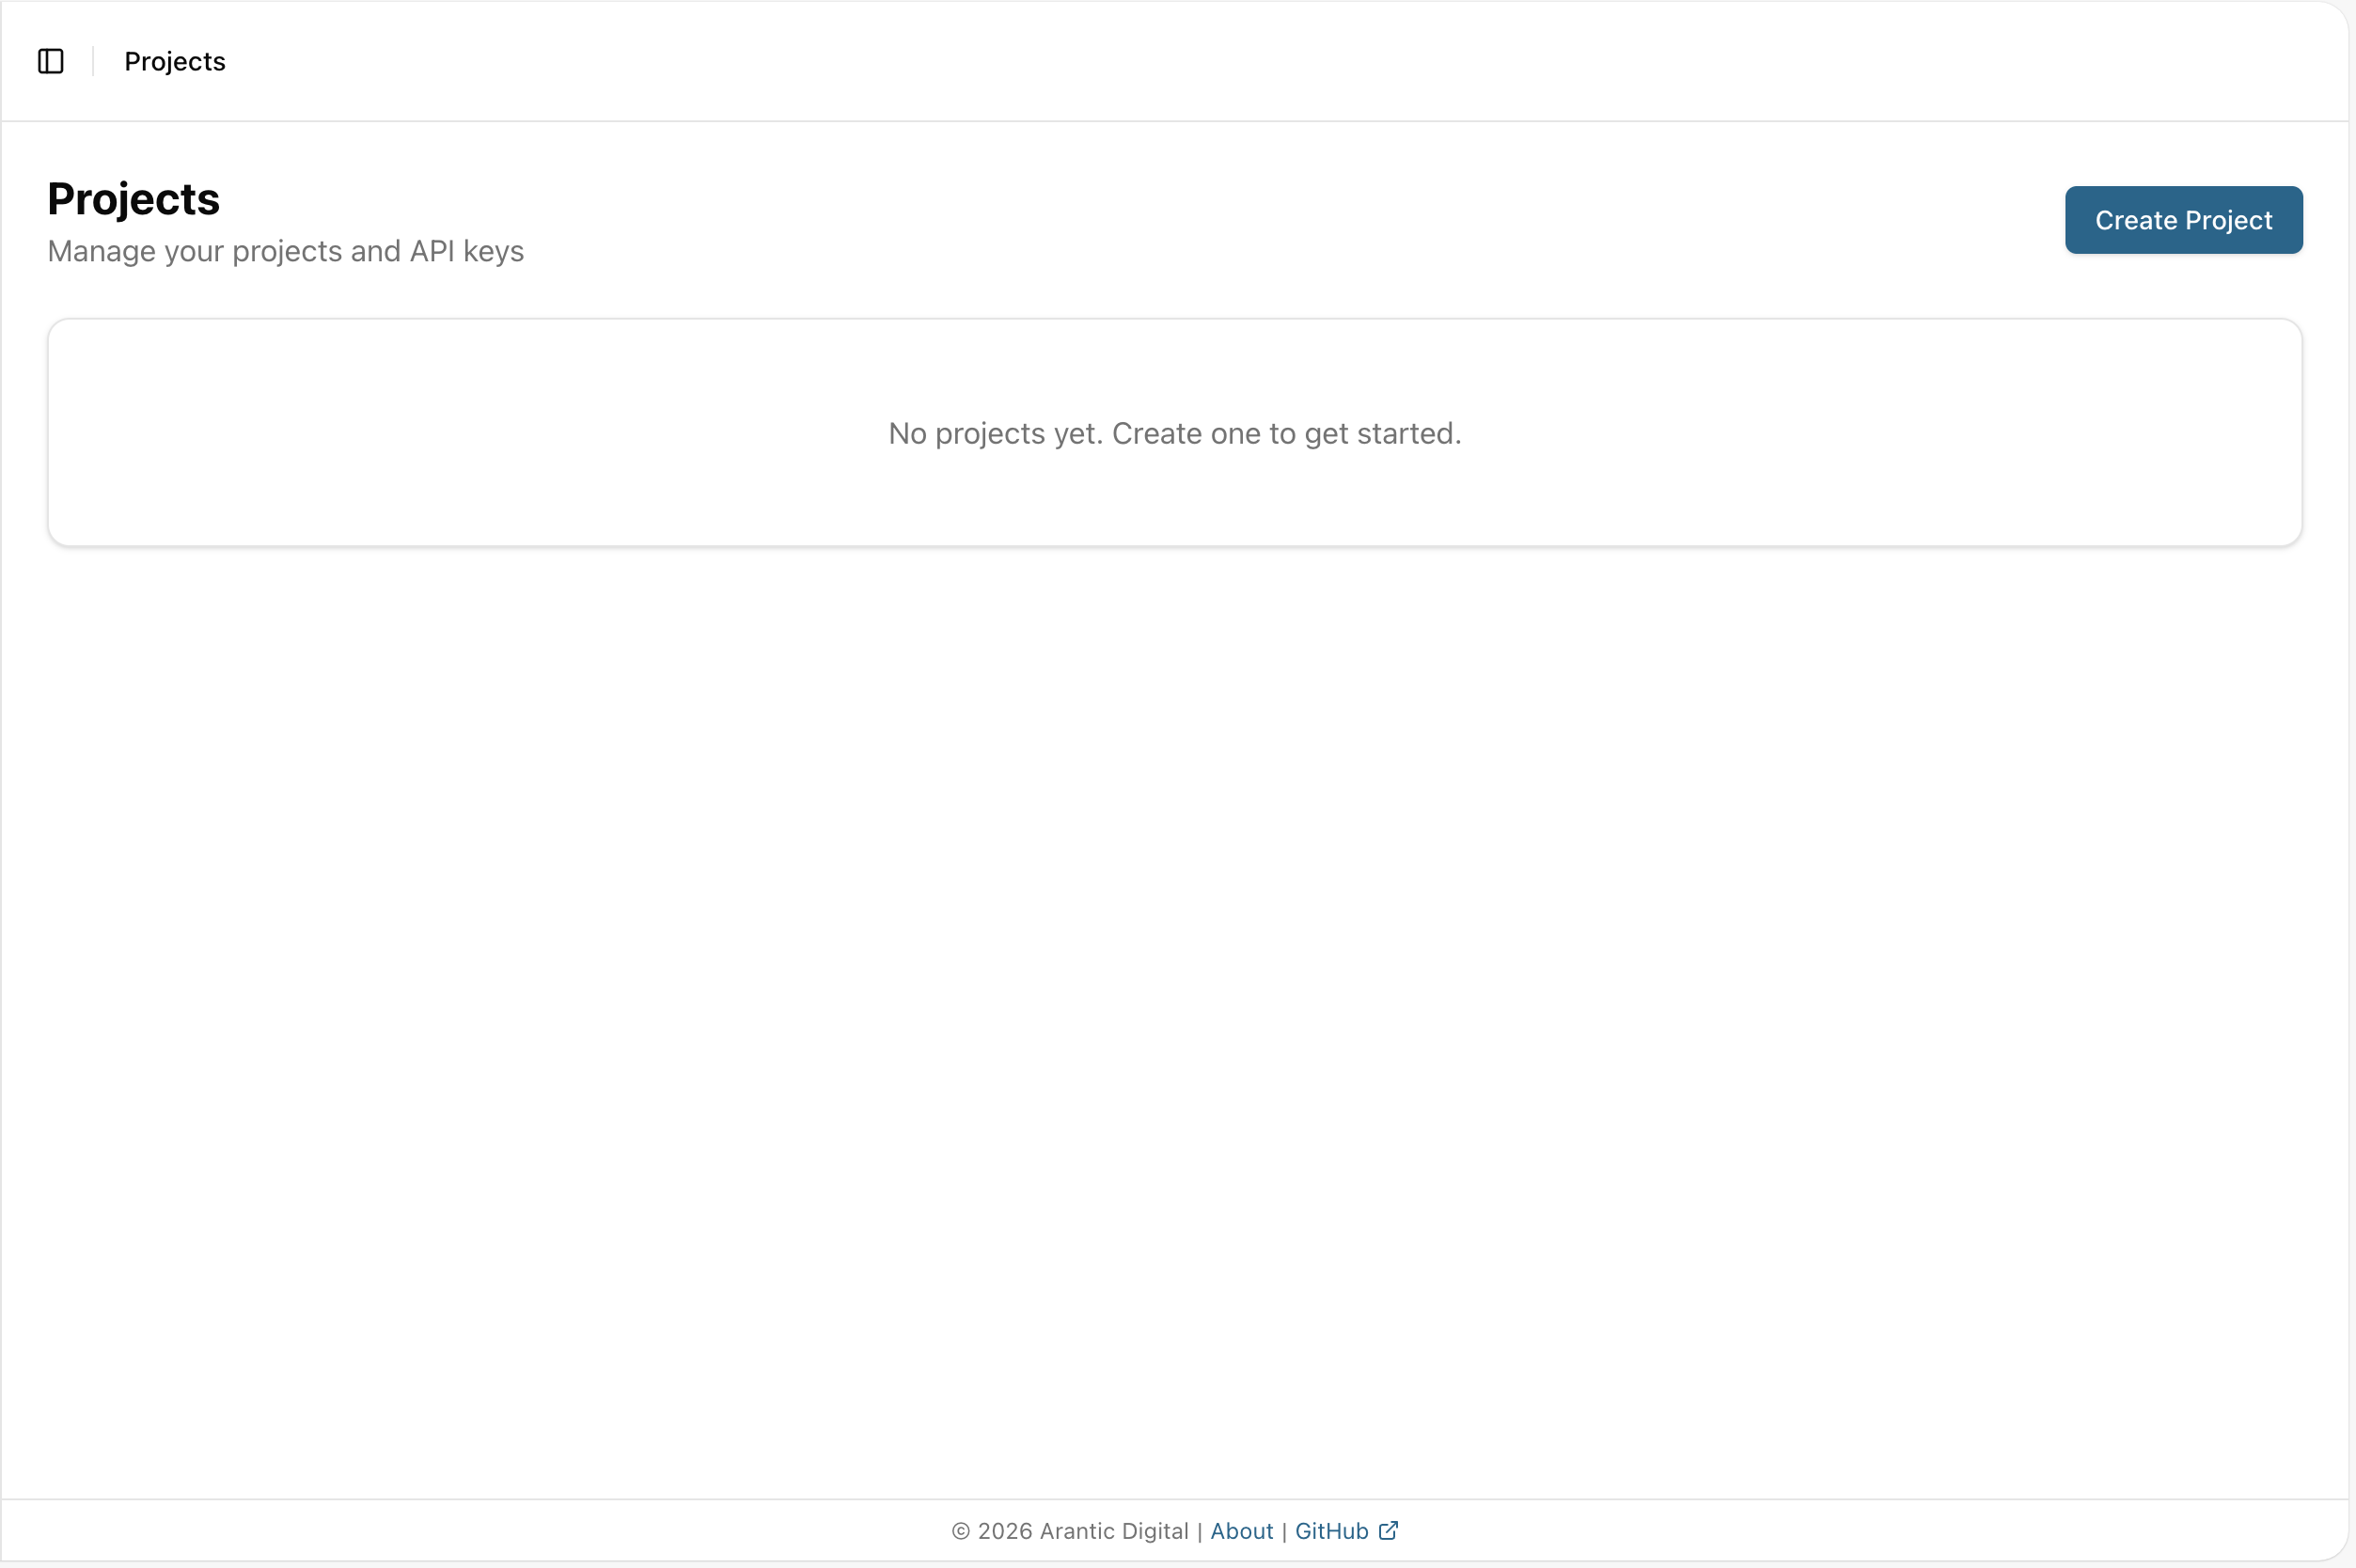
Step 3: Create Your First Project
Projects organize bug reports and provide API keys for widget integration.
- Navigate to Projects in the sidebar
- Click Create Project
- Enter a project name (e.g., "My Website")
- Click Create
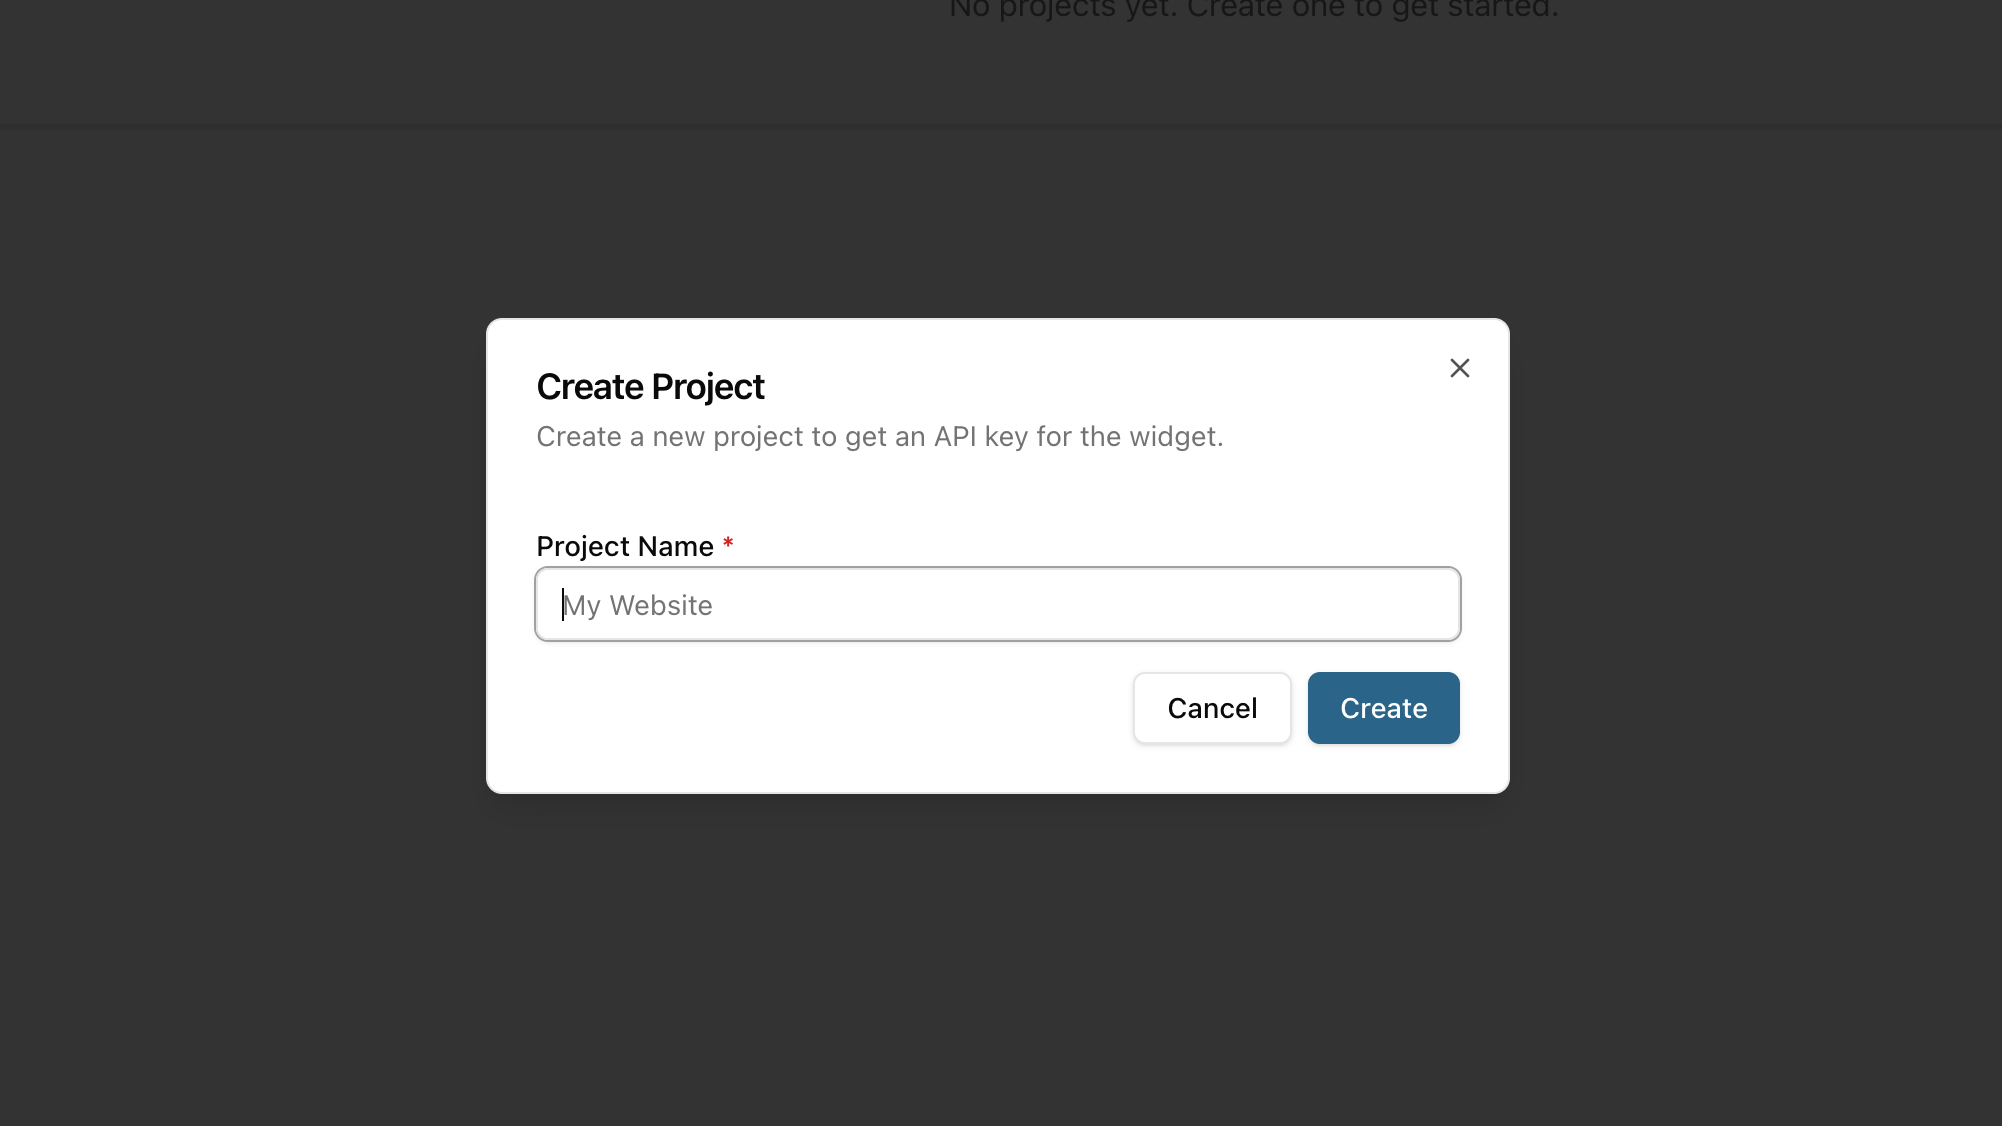
After creation, you'll see your project's API Key. Copy it or use the ready-made widget snippet — you'll need it in the next step.
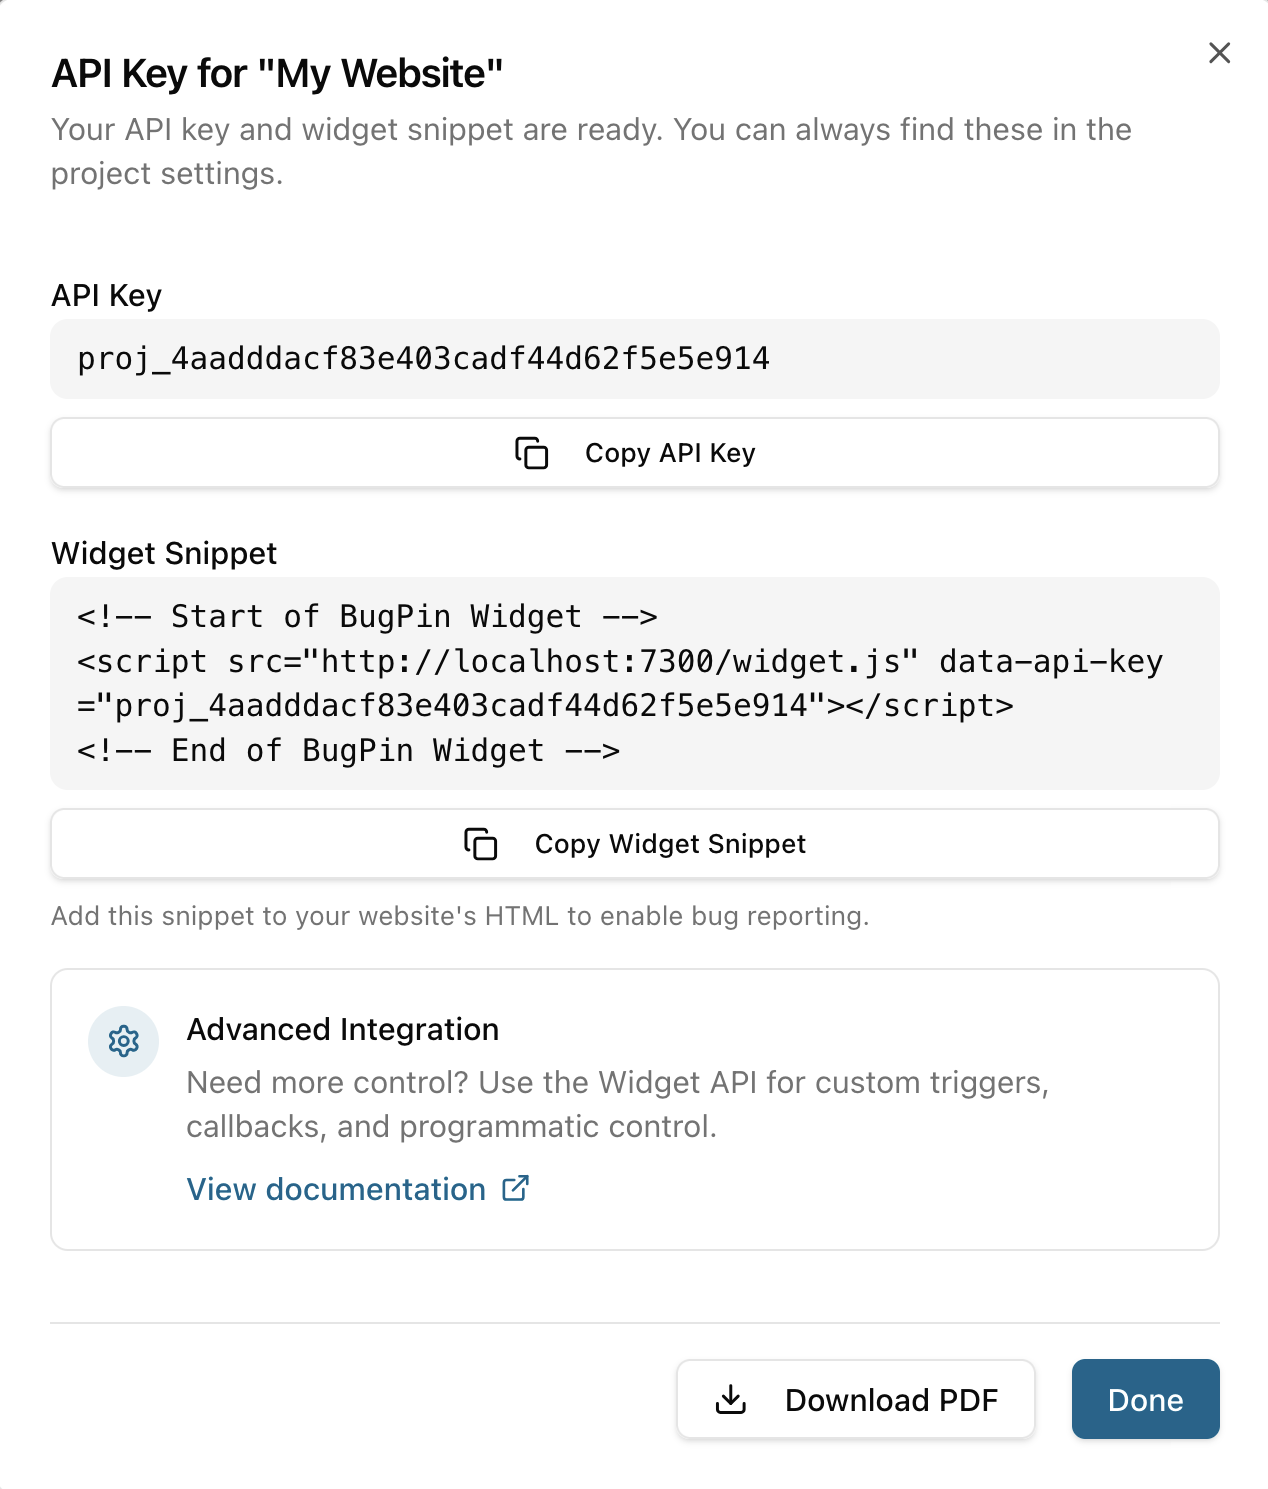
Step 4: Add Widget to Your Site
Add the BugPin widget to your website by including this script tag before the closing </body> tag:
<script src="http://localhost:7300/widget.js" data-api-key="YOUR_API_KEY_HERE" async></script>
Replace YOUR_API_KEY_HERE with the API key from Step 3.
For production deployment, replace http://localhost:7300 with your actual BugPin server URL (e.g., https://bugpin.example.com).
For advanced widget configuration, see Widget Installation.
Step 5: Test the Widget
- Open your website in a browser
- Look for the BugPin button (default: bottom-right corner)
- Click the button to open the widget
- Take a screenshot and add annotations
- Submit your first bug report
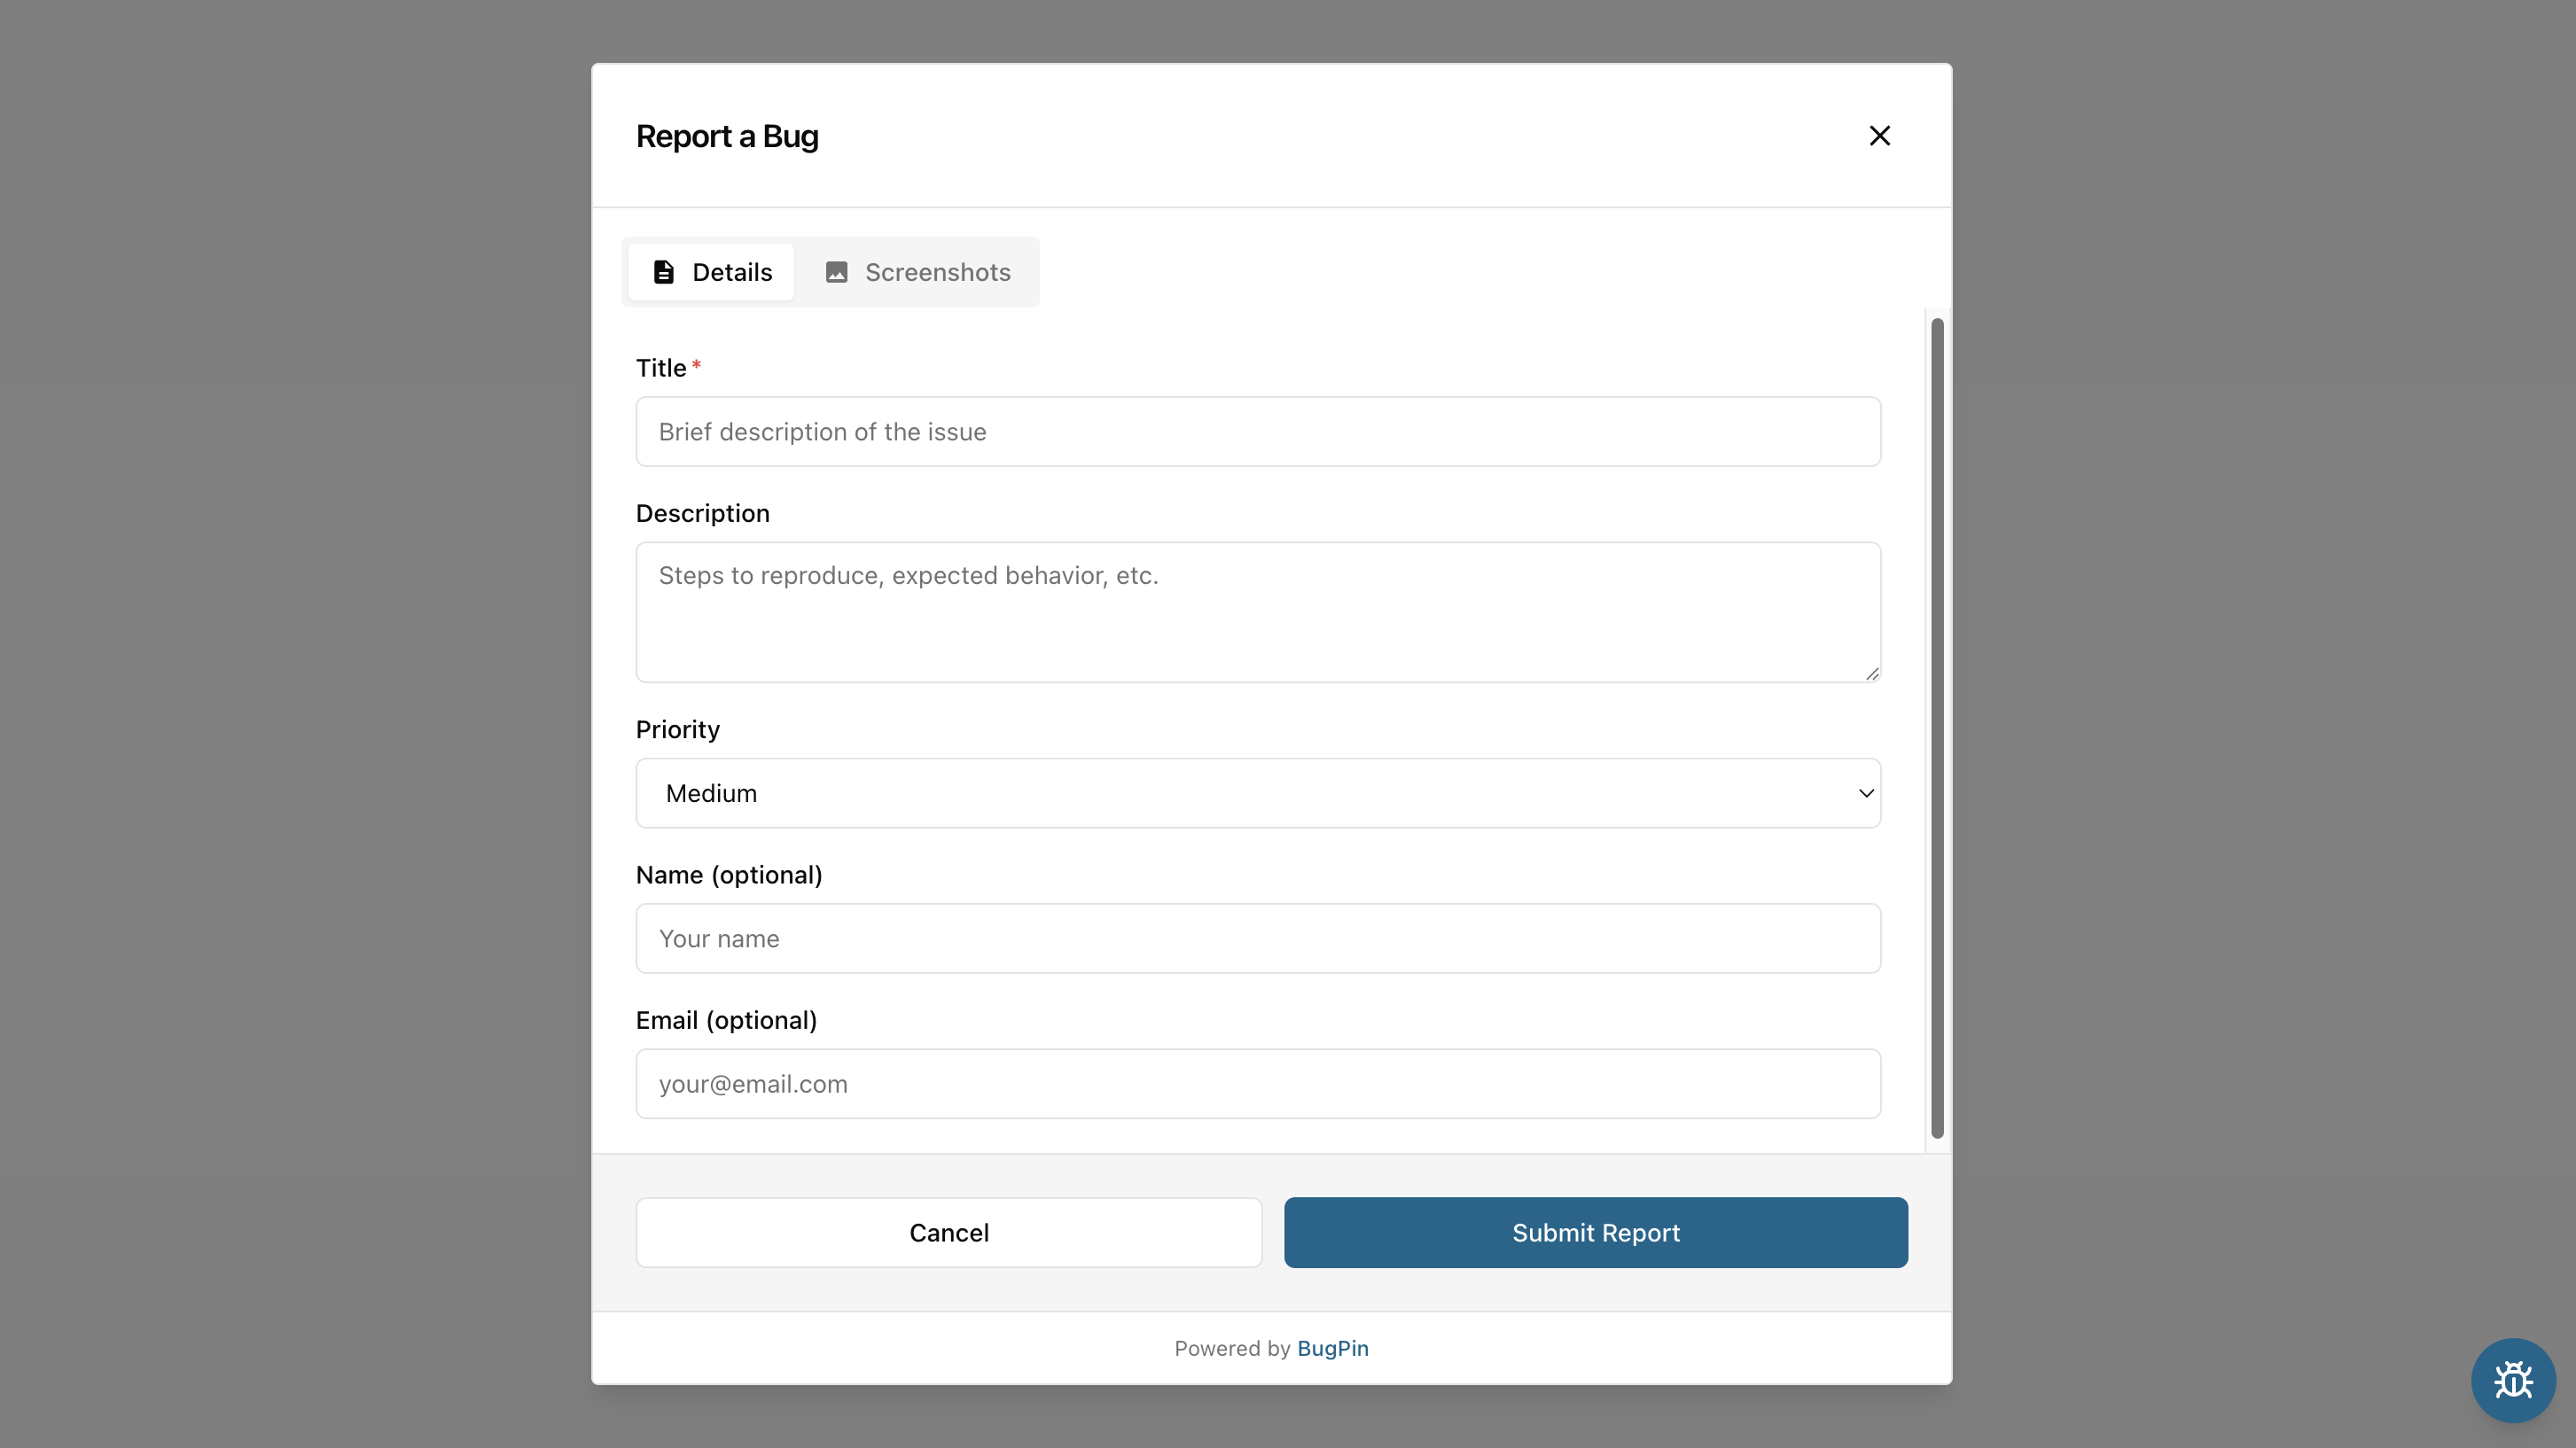
Check your BugPin admin panel - you should see the report in the Reports section.
The reports list now supports source-aware triage, so you can distinguish reports submitted through the widget from reports created manually by your team.
Optional: Create Reports Manually
If a bug is reported through email, chat, or an internal QA process instead of the widget, admins and editors can create it directly from the reports list.
Manual reports support:
- Optional file uploads
- Reporter name and email
- Page URL
- Intake channel tracking
This keeps all bug intake in one place, even when the report did not originate from the widget.
Next Steps
Now that BugPin is running, explore these features:
| Goal | Next page |
|---|---|
| Deploy behind a public domain | Reverse Proxy Setup |
| Customize the widget | Widget Settings |
| Add the widget to a framework | Widget Installation |
| Forward reports to GitHub Issues | GitHub Integration |
| Harden a production instance | Security Hardening |
Configuration
- Server Configuration - Configure SMTP, security, and environment settings
- Widget Settings - Customize widget appearance and behavior
- Branding - Add your logo and customize colors
- User Management - Invite team members with different roles
Production Deployment
- Reverse Proxy Setup - Deploy with Traefik, Nginx, Caddy, or Apache
Integrations
- GitHub Integration - Create GitHub issues from bug reports
Advanced
- Widget Annotation Tools - Learn about all annotation capabilities
- API Reference - Build custom integrations
- Monitoring - Set up logging and monitoring
Triage
- Assign reports to team members from the reports list or report detail view
- Use source filtering to separate widget-submitted and manually created reports
Having Issues?
Check the FAQ for answers to common questions:
- Widget not appearing or not sending reports
- Cannot access admin panel
- Authentication issues
- Integration problems
- And more...
Need Help?
- FAQ: Common questions and answers
- Documentation: Browse the full documentation in the sidebar
- GitHub Issues: Report bugs or request features
- License: Server/Admin is AGPL-3.0, Widget is MIT licensed
Congratulations! You've successfully set up BugPin. Start capturing bug reports and streamline your development workflow.